Why do dogs go crazy for crinkle dog toys? Exploring the fun sound that keeps your furry friend entertained.
My Dog Toy Making Adventure
Alright, let me tell you what I got up to this weekend. My dog, bless his heart, goes through toys like nobody's business. Especially those crinkly ones – loves that sound, but they last about five minutes, tops. And they aren't exactly cheap, you know? So I thought, why not try making some myself? Seemed like a decent way to save a few bucks and maybe use up some stuff lying around.
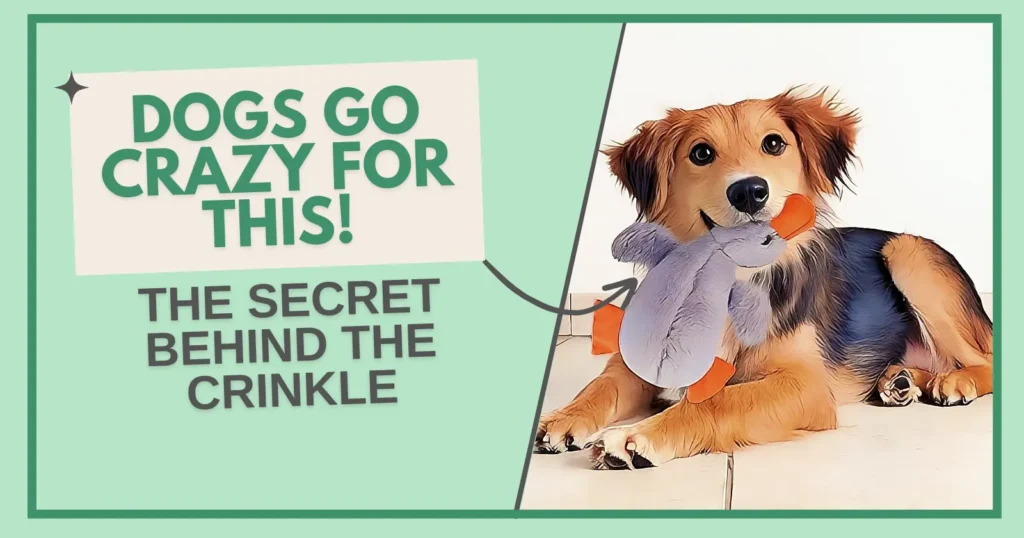
First off, I had to gather the bits and pieces. I rummaged through my craft stash – found some old sturdy fabric scraps. Nothing fancy, just some leftover canvas stuff and bits of fleece. The key thing was getting that crinkle sound. I remembered I had an empty family-size potato chip bag. Gave that a really good wash with soap and water, let it dry completely. Didn't want any greasy residue or chip smell, obviously. Scissors, needle, strong thread – got those ready too. Could've used the sewing machine, but felt like doing it by hand while watching TV.
Cutting and Prepping
Next, I started cutting. Didn't bother with patterns. Just cut out some simple shapes from the fabric – mostly squares and rectangles, maybe about six inches wide? Made sure I cut two identical pieces for each toy. Then I took the cleaned chip bag and cut pieces slightly smaller than the fabric shapes. You gotta make sure the crinkly part fits inside nicely without bunching up at the edges where you sew.
Putting It Together
Okay, sewing time. This is where it got a little fiddly. I laid down one piece of fabric, put the cut-up chip bag piece on top, then placed the other fabric piece over that, sandwiching the crinkly bit. Lined up the edges as best I could.
I started sewing around the edges using a simple backstitch because it's pretty strong. Left a small gap open on one side, maybe a couple of inches long. This part took a bit longer than I thought, my fingers got a bit sore, but hey, it was happening. Made sure my stitches were fairly close together so the crinkle stuff wouldn't escape later.
The Grand Finale (Almost)
Once I'd sewn around three and a half sides, I double-checked the crinkle material was flat inside. These weren't stuffed toys, just flat crinklers. Then, I carefully stitched the opening closed. Tried to make those final stitches neat, tucking the raw edges in a bit before sewing. Snipped off all the loose threads. Stood back and looked at my handiwork. Didn't look store-bought perfect, but felt solid enough.
The Verdict
Made two of them like this. Then came the real test. I tossed one to my dog. He sniffed it, poked it with his nose, and then... CRINKLE! His ears perked right up. He grabbed it, shook it like crazy, that crinkle sound going wild. Ran around the living room with it, tail wagging furiously. Seeing him so happy with something I literally cobbled together from scraps and a chip bag? Honestly, super satisfying.
So yeah, that was my little project. Took maybe an hour? Pretty easy, really. If your dog loves crinkle sounds, give it a shot. Good way to recycle and make your furry buddy happy.
