Need a Dog and Gumby toy? Get it now with great offer!
Okay, so the other day I decided to make a little something for my furry friend and my kiddo - a dog and Gumby toy. I'm no pro, just a regular guy who likes to tinker around, so bear with me!
Getting Started
First things first, I needed some materials. I rummaged through my old boxes and found some:
- Fleece fabric - Green for Gumby, and a fun pattern for the dog.
- Stuffing - Just the regular stuff you'd find in old pillows.
- Scissors
- Needle and thread
- SqueakerOptional, for extra doggy fun.
Making the Dog
I grabbed the patterned fabric. I sketched out a simple dog shape - you know, two body halves, a couple of ears, and a tail. Nothing fancy, just a basic dog outline.
Pin the pieces together. I used pins to hold the two body pieces together, right sides facing each other. Then, I did the same for the ears and tail.
Sew time! I'm not the best at sewing, but I managed to stitch around the edges of the body, leaving a little gap to turn it inside out. I did the same for the ears and tail, no gaps needed for those.
Turn and stuff. I turned the body right-side out through the gap, and then started stuffing it. I made sure to get the stuffing into all the corners, making it nice and plump. If I wanted add a squeaker and stuffed it in there, too.
Close it up. I used a simple stitch to close the gap I left for turning. It's not pretty, but it's hidden, so who cares?
Attach the bits. I sewed on the ears and tail. Again, nothing fancy, just making sure they were securely attached.
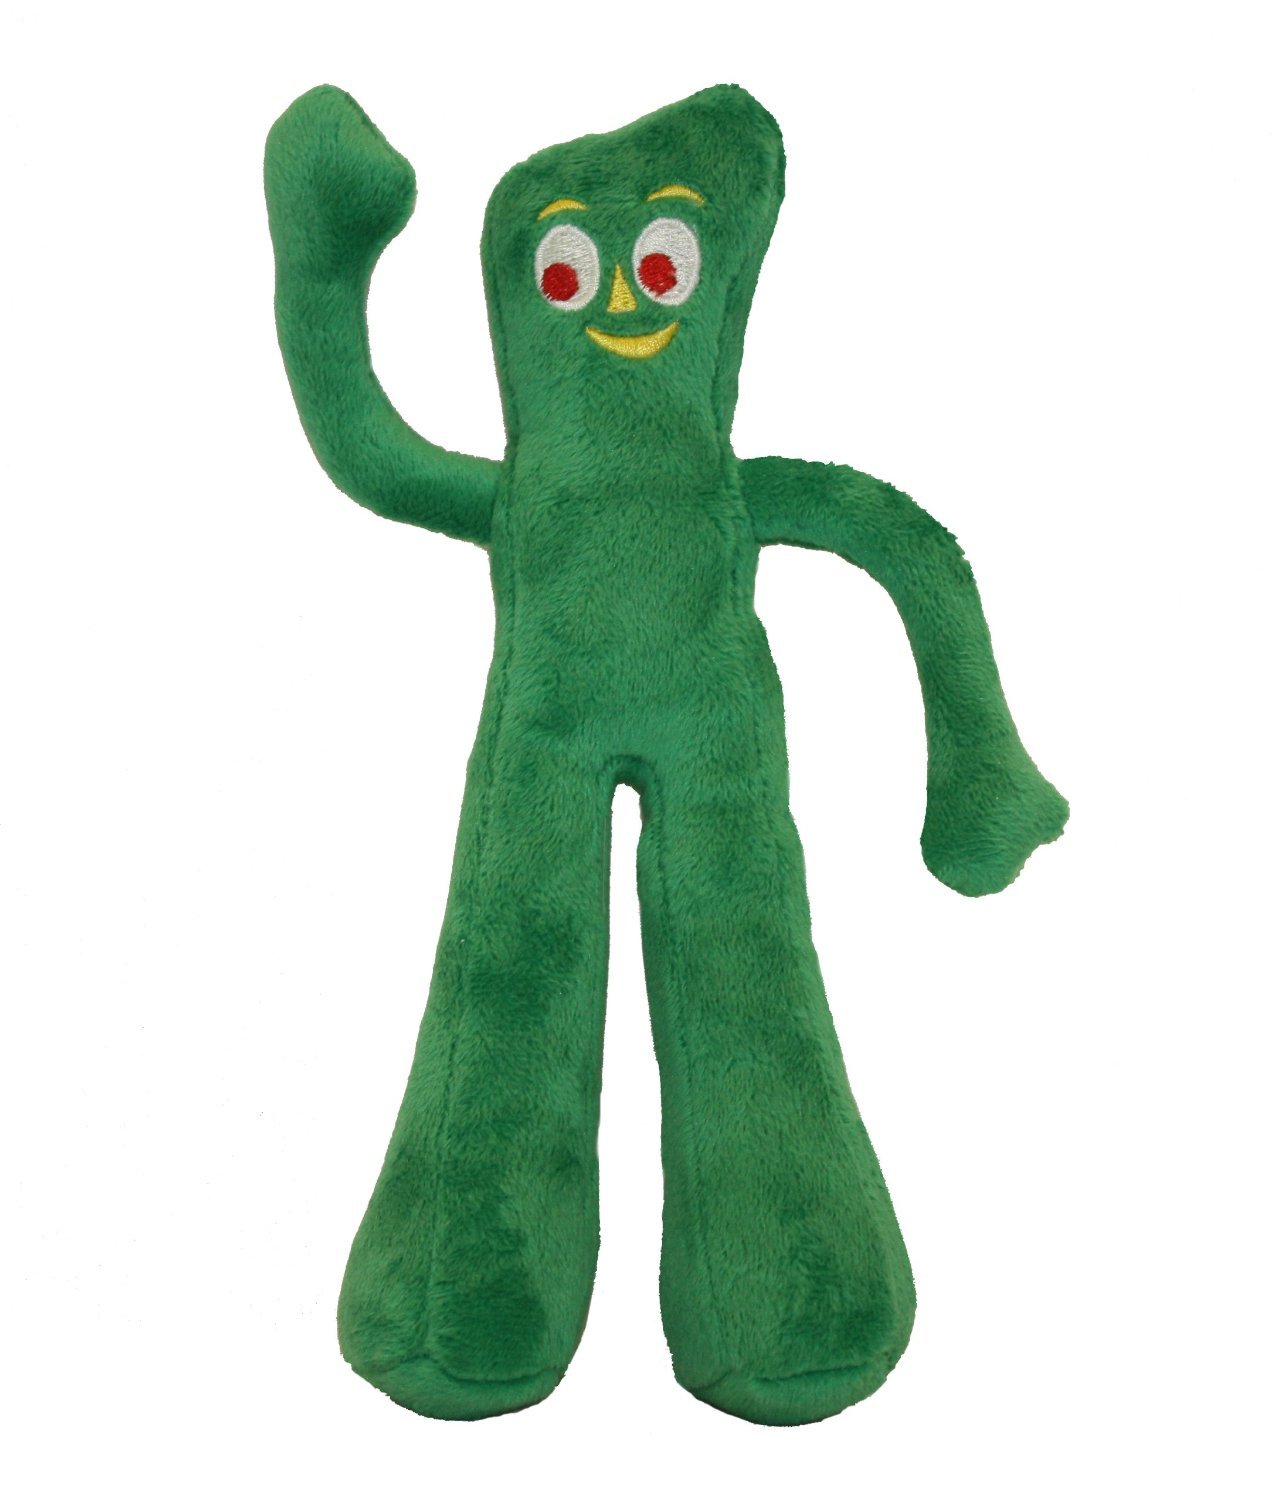
Gumby's Turn
Cut the shapes. For Gumby, I cut out two long, slightly curved rectangles for the body, and four smaller, pointy shapes for the arms and legs.

Sew and stuff. Just like with the dog, I sewed the two body pieces together, leaving a gap, and then turned it right-side out. Then, I stuffed it, making sure Gumby was nice and firm.
Close and attach.I sewed the gap closed, and then attached the arms and legs. I positioned them so Gumby looked like he was mid-stride, you know, classic Gumby pose.
The Final Result
And there you have it! A homemade dog and Gumby toy. It is definitely not perfect, the stitches are probably a bit wonky, and Gumby might be a little lopsided, but hey, I made it! And more importantly, both my pup and kid will get some joy out of it, that's what matter.
It was a fun little project, and it's always satisfying to make something with your own two hands.