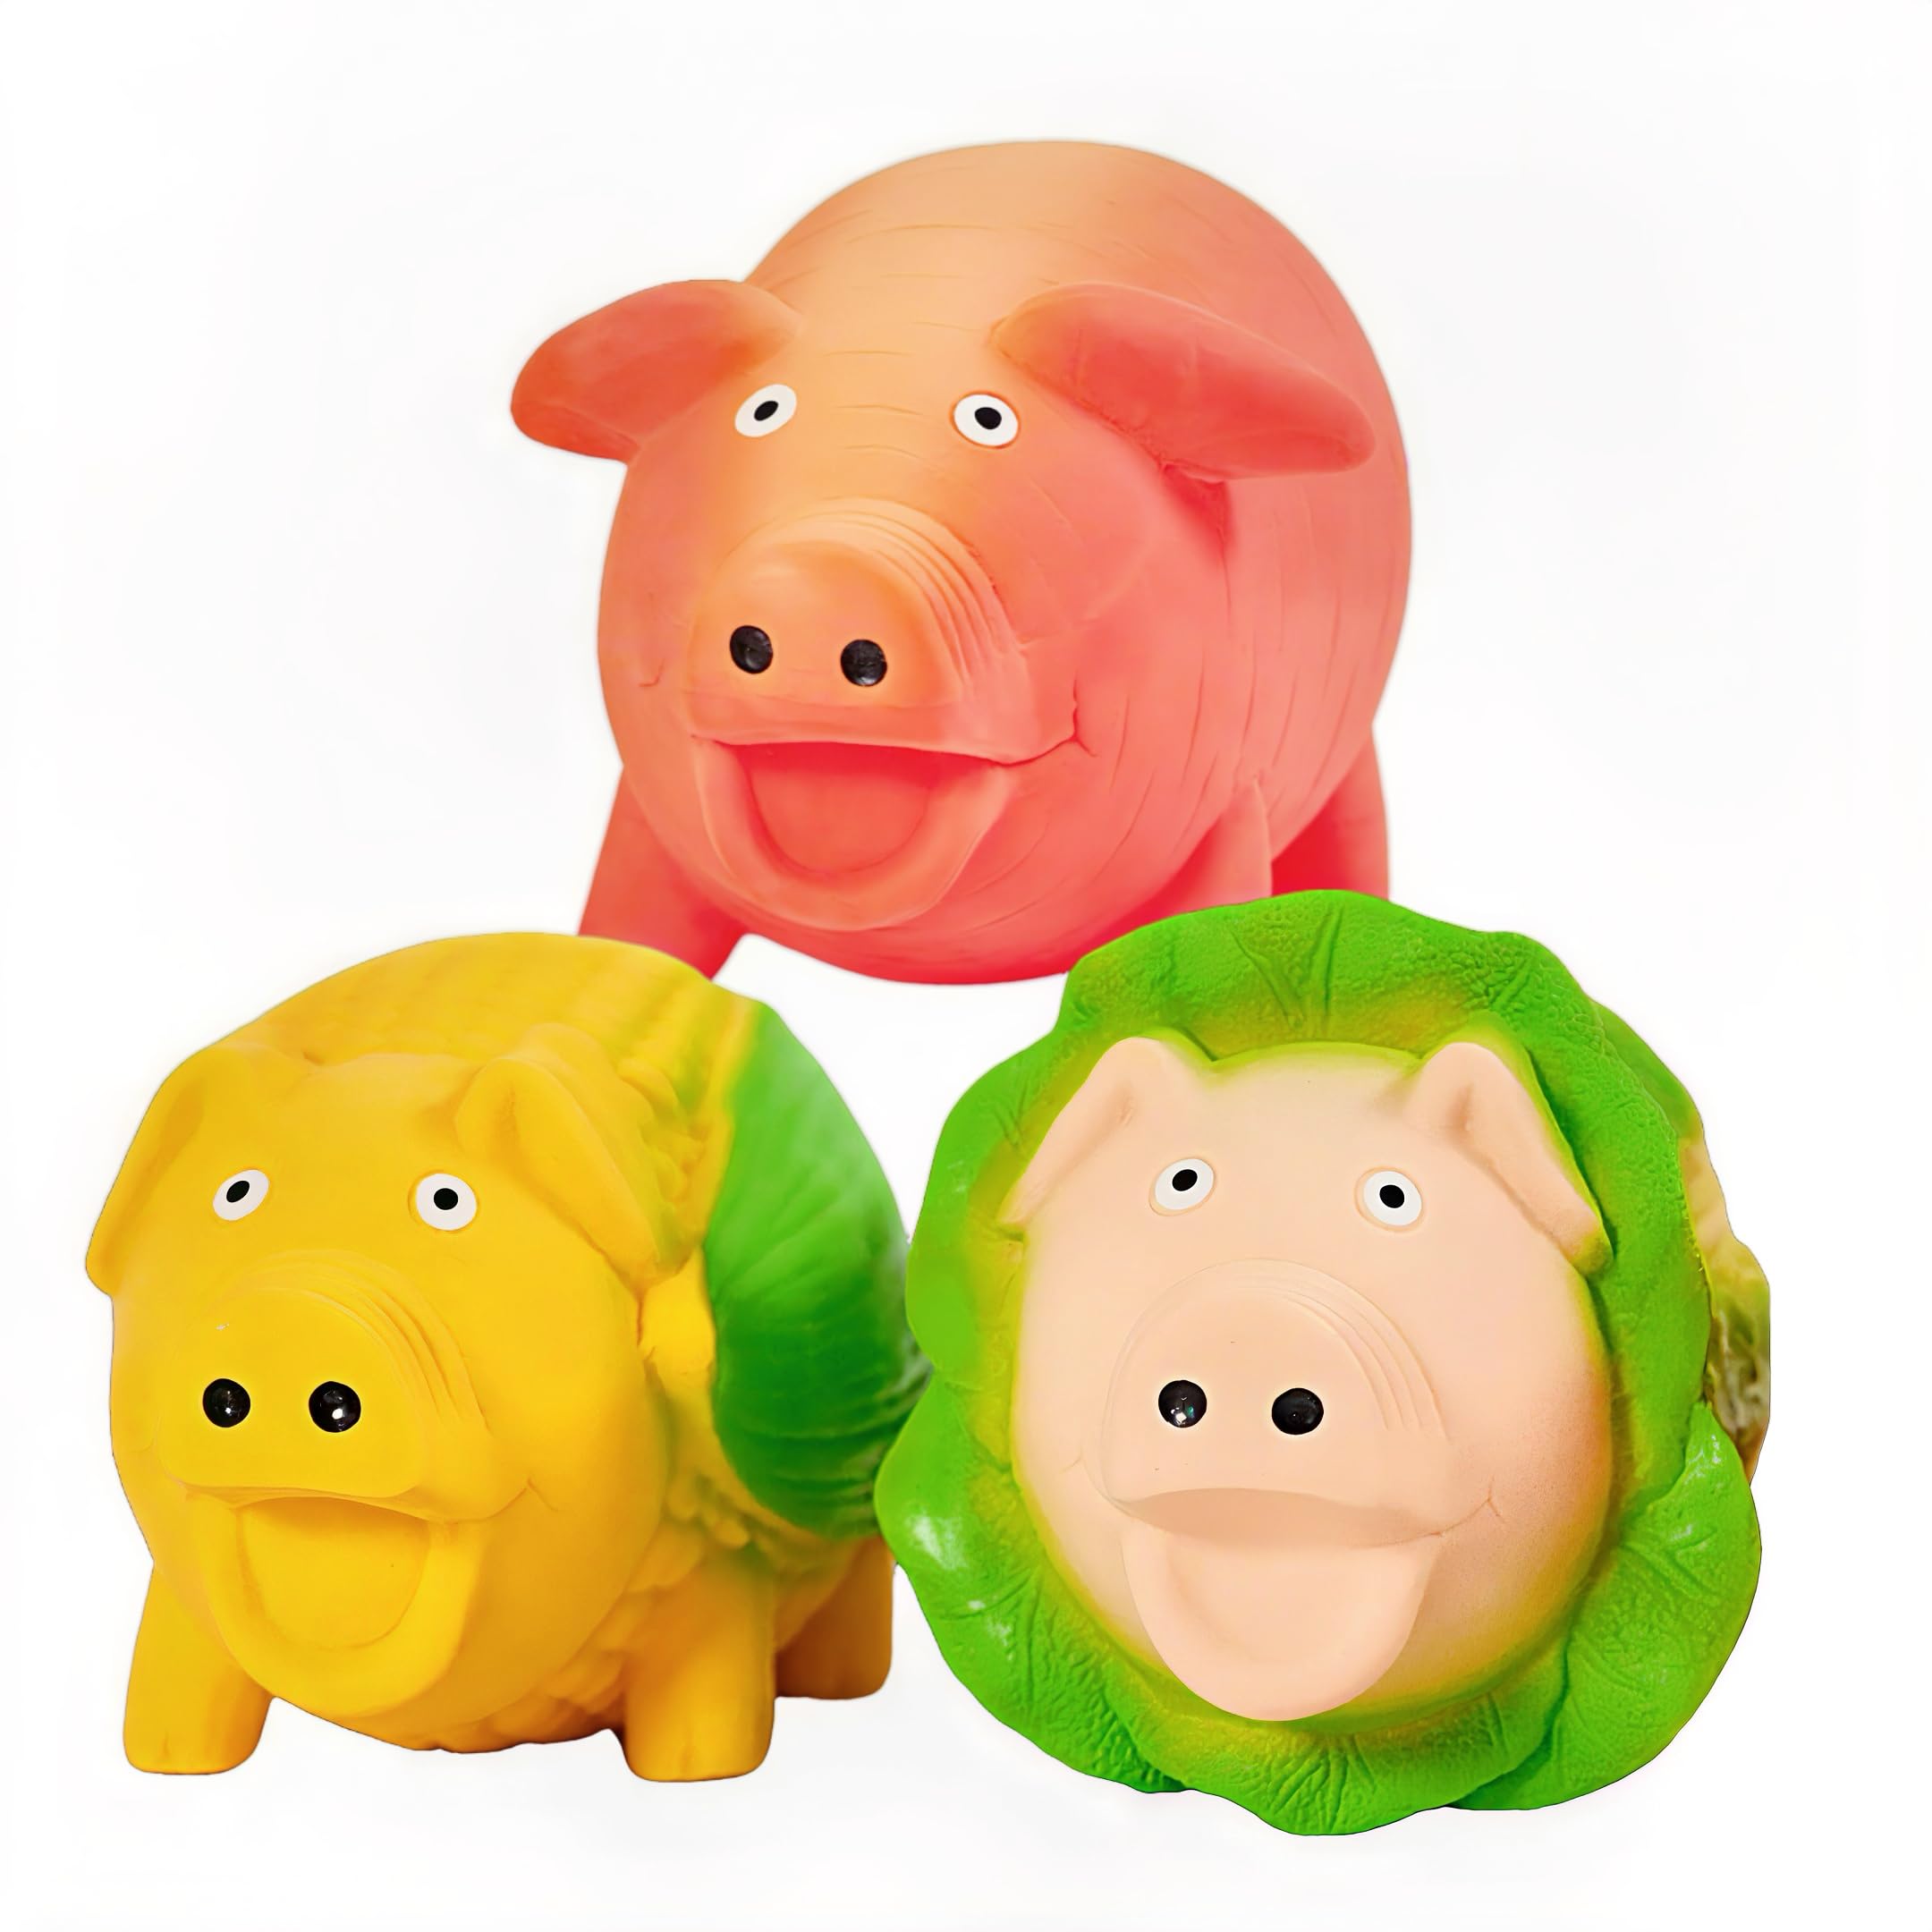
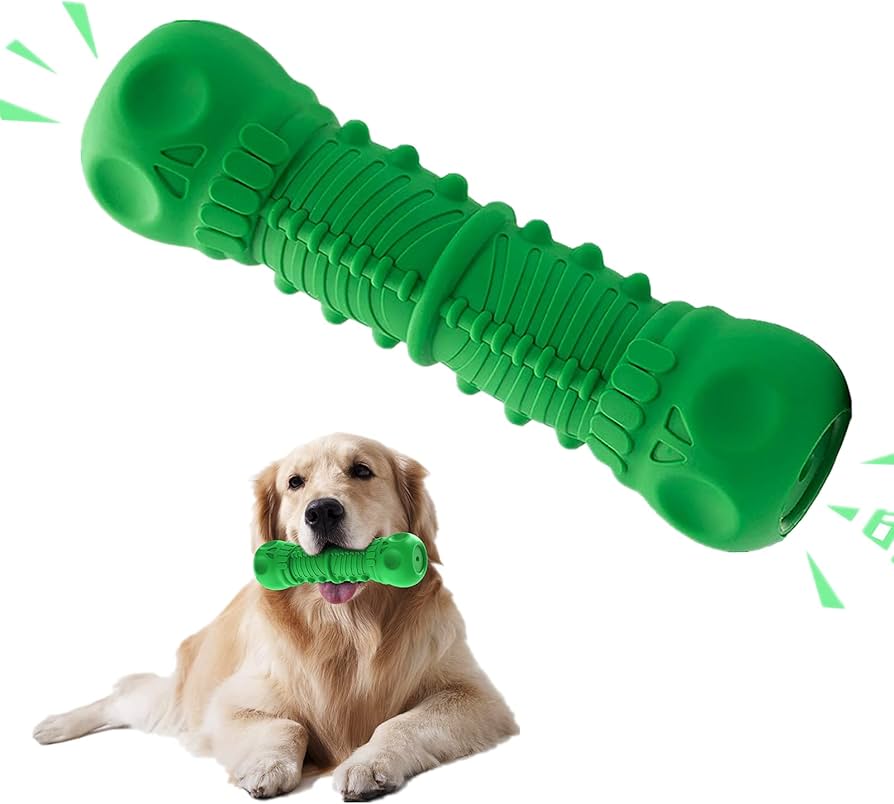
Long-Lasting Rubber Dog Toys That Squeak to Buy
Okay, here's my take on sharing my experience with making squeaky rubber dog toys, blog-style.
Alright folks, gather 'round! Today, I’m spilling the beans on a little DIY project I tackled: squeaky rubber dog toys. My furry pal, Buster, goes through toys like crazy, and those store-bought ones? They’re either too expensive or fall apart in five minutes. So, I figured, why not try making my own? Here’s the whole shebang, from start to (almost) finish.
Step 1: The Idea and the Materials
- First things first, I needed a plan. I browsed online for inspiration – simple shapes seemed best, no crazy intricate designs.
- Next, the materials. Rubber was the obvious choice. I ended up ordering some liquid latex rubber online. Figured it'd be easier to mold.
- Of course, gotta have the squeaker! I bought a pack of replacement squeakers from a craft store. They're those little plastic things you find inside most dog toys.
- Then came the molding. I used some old plastic containers as molds – a yogurt container for a round toy, and a small Tupperware for a bone shape.
Step 2: The Messy Part - Pouring and Curing
- This is where things got interesting (and kinda messy). I mixed the liquid latex according to the instructions – gotta get the ratio right.
- I carefully poured the rubber into my makeshift molds, making sure the squeaker was right in the middle of the toy. This was tricky, the squeakers wanted to float!
- Now, the waiting game. The latex needed to cure. I left them outside in the sun for a couple of days. The smell was… noticeable, let’s just say that.
Step 3: De-molding and Trimming
- Finally! Time to see what I’d created. Popping the rubber toys out of the molds was surprisingly satisfying.
- The edges were a bit rough, so I grabbed some scissors and carefully trimmed away the excess rubber.
Step 4: The Big Test - Buster Time!
- The moment of truth. I presented Buster with his new toys. He sniffed, he pawed, and then… SQUEAK! He loved it!
- The round one became his favorite fetch toy, and he gnawed happily on the bone-shaped one.
The Outcome and What I Learned
Okay, so the toys weren't perfect. They definitely looked homemade. But Buster didn’t seem to mind. And honestly, they held up way better than some of the store-bought ones he's destroyed. Next time, I’ll try:
- Adding some color to the rubber mixture. Plain white is kinda boring.
- Finding better molds. The plastic containers worked, but something sturdier would give a cleaner finish.
- Maybe trying a different type of rubber, something a bit more durable.
Overall, it was a fun experiment, and Buster got some new toys out of it. Plus, I now have a better understanding of why good dog toys cost so much! Would I do it again? Probably, especially if it keeps Buster happy and entertained. Happy crafting, folks!