Best Predator Vest for Dogs? Top Picks & Reviews!
Okay, here's my blog post about making a predator vest for my dog:

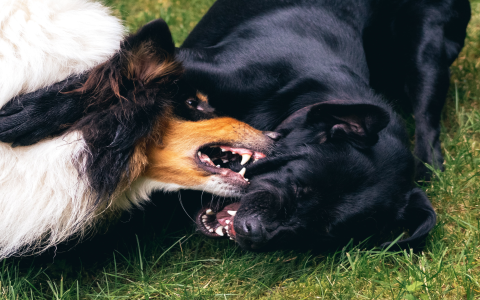
So, I've got this small dog, a little terrier mix named Pepper. She's a sweetheart, but we live in an area with coyotes. I worry about her, especially when we're out hiking or even just in the backyard at dusk. I'd heard about these "predator vests" and figured I'd give making one a shot. It seemed way cheaper than buying one, and, hey, I like a good project.
Getting Started
First, I needed a base. I grabbed one of Pepper's old harnesses that she'd outgrown. It was still in decent shape, just a little snug. Perfect! This would be the foundation of the vest. The main idea is to make your dog look bigger and less appealing to a predator, and maybe even give them a little protection if the worst happens.
Adding the Spikes
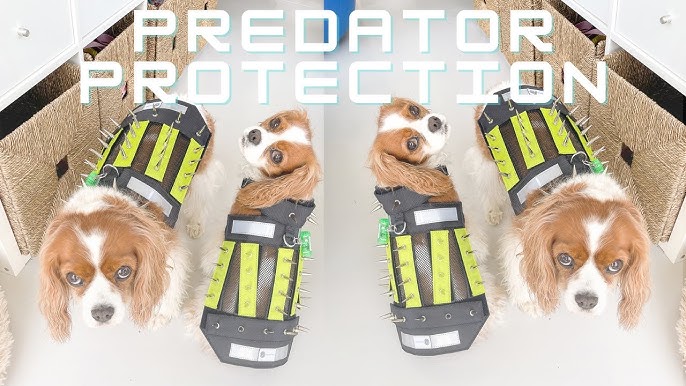
Next up: spikes! I didn't want anything actually sharp, just something that looked intimidating. I went to the craft store and found these plastic, cone-shaped studs. They're the kind you might see on a punk rock jacket or something. I got a whole bunch of them, figuring more is better in this case.
I used some heavy-duty glue – the kind that's meant for fabric and plastic – to attach the studs to the harness. I started by covering the back area, placing the studs close together. I wanted it to look like a porcupine or something, you know? Something a coyote wouldn't want to mess with.
- Step 1: Glue the studs onto the back of the harness.
- Step 2: Make sure they're close together and cover a good amount of area.
Making it Colorful (and Visible)
After the back was covered, I added some studs along the sides, too. But I also wanted the vest to be brightly colored. Predators are often deterred by bright, unnatural colors. I had some leftover bright orange fabric scraps from another project, so I cut them into strips and glued them onto the harness between the studs. This also helped with visibility, making Pepper easier to spot in the brush.
- Step 1:Cut strips of bright fabric
- Step 2:Glue to vest.
The Final Touches
I let the whole thing dry overnight, just to make sure everything was secure. The next day, I tried it on Pepper. She didn't seem to mind it at all! It fit well, and she could move around normally. Of course, a vest like this isn't foolproof. It's not going to stop a determined predator, but it might make them think twice. And that's all I'm really hoping for – just a little extra deterrent, a little extra peace of mind.
I added some reflective tap to make Pepper more visiable during the night.
It was a pretty simple project, really, and it didn't cost much at all. Plus, I feel a little better knowing Pepper has some extra protection when we're out and about. It's not a guarantee, but it's something. And for a worried dog owner, that's worth a lot.