Buy snake squeaker dog toy: What are some reliable online stores to easily purchase one for your dog today?
Alright, buckle up folks, 'cause I'm about to spill the beans on my latest DIY dog toy adventure: the snake squeaker!
It all started last week when I noticed my furry buddy, Max, was getting bored with his usual toys. You know how it is – same old ball, same old rope, same old… snooze-fest. So, I figured, why not try my hand at making something new? I'd seen some tutorials online for squeaky toys, and the snake design just seemed perfect for Max to thrash around with.
Step 1: Gathering the Supplies. This is where the fun begins! I raided my fabric scrap bin (a must-have for any crafting enthusiast, trust me) and found some colorful cotton scraps. I also grabbed a squeaker from an old, disemboweled toy (RIP Mr. Bear), some poly-fil stuffing, thread, scissors, pins, and my trusty sewing machine. You could totally hand-sew this too, but I'm all about speed these days.
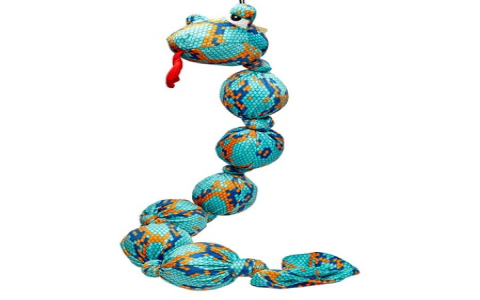
Step 2: Cutting the Fabric. I sketched out a simple snake shape on paper – nothing fancy, just a long, slightly wiggly tube with a rounded head and a pointy tail. I used this pattern to cut out two pieces of fabric. Remember to add a seam allowance! About half an inch should do the trick.
Step 3: Sewing the Snake. Here's where the magic happens (or the machine malfunctions, depending on the day). I pinned the two fabric pieces together, right sides facing, and started sewing along the edges, leaving a gap at the tail end for stuffing. I used a basic straight stitch, nothing complicated. Just gotta make sure those seams are secure, or Max will have this thing ripped open in five minutes flat.
Step 4: Turning and Stuffing. After sewing, I carefully turned the snake right side out. This can be a bit fiddly, especially with the tail, but patience is key. Once it's turned, it's stuffing time! I used small handfuls of poly-fil to stuff the snake, making sure to get into all the nooks and crannies. I wanted it to be nice and plump, but not so overstuffed that it's rock hard.
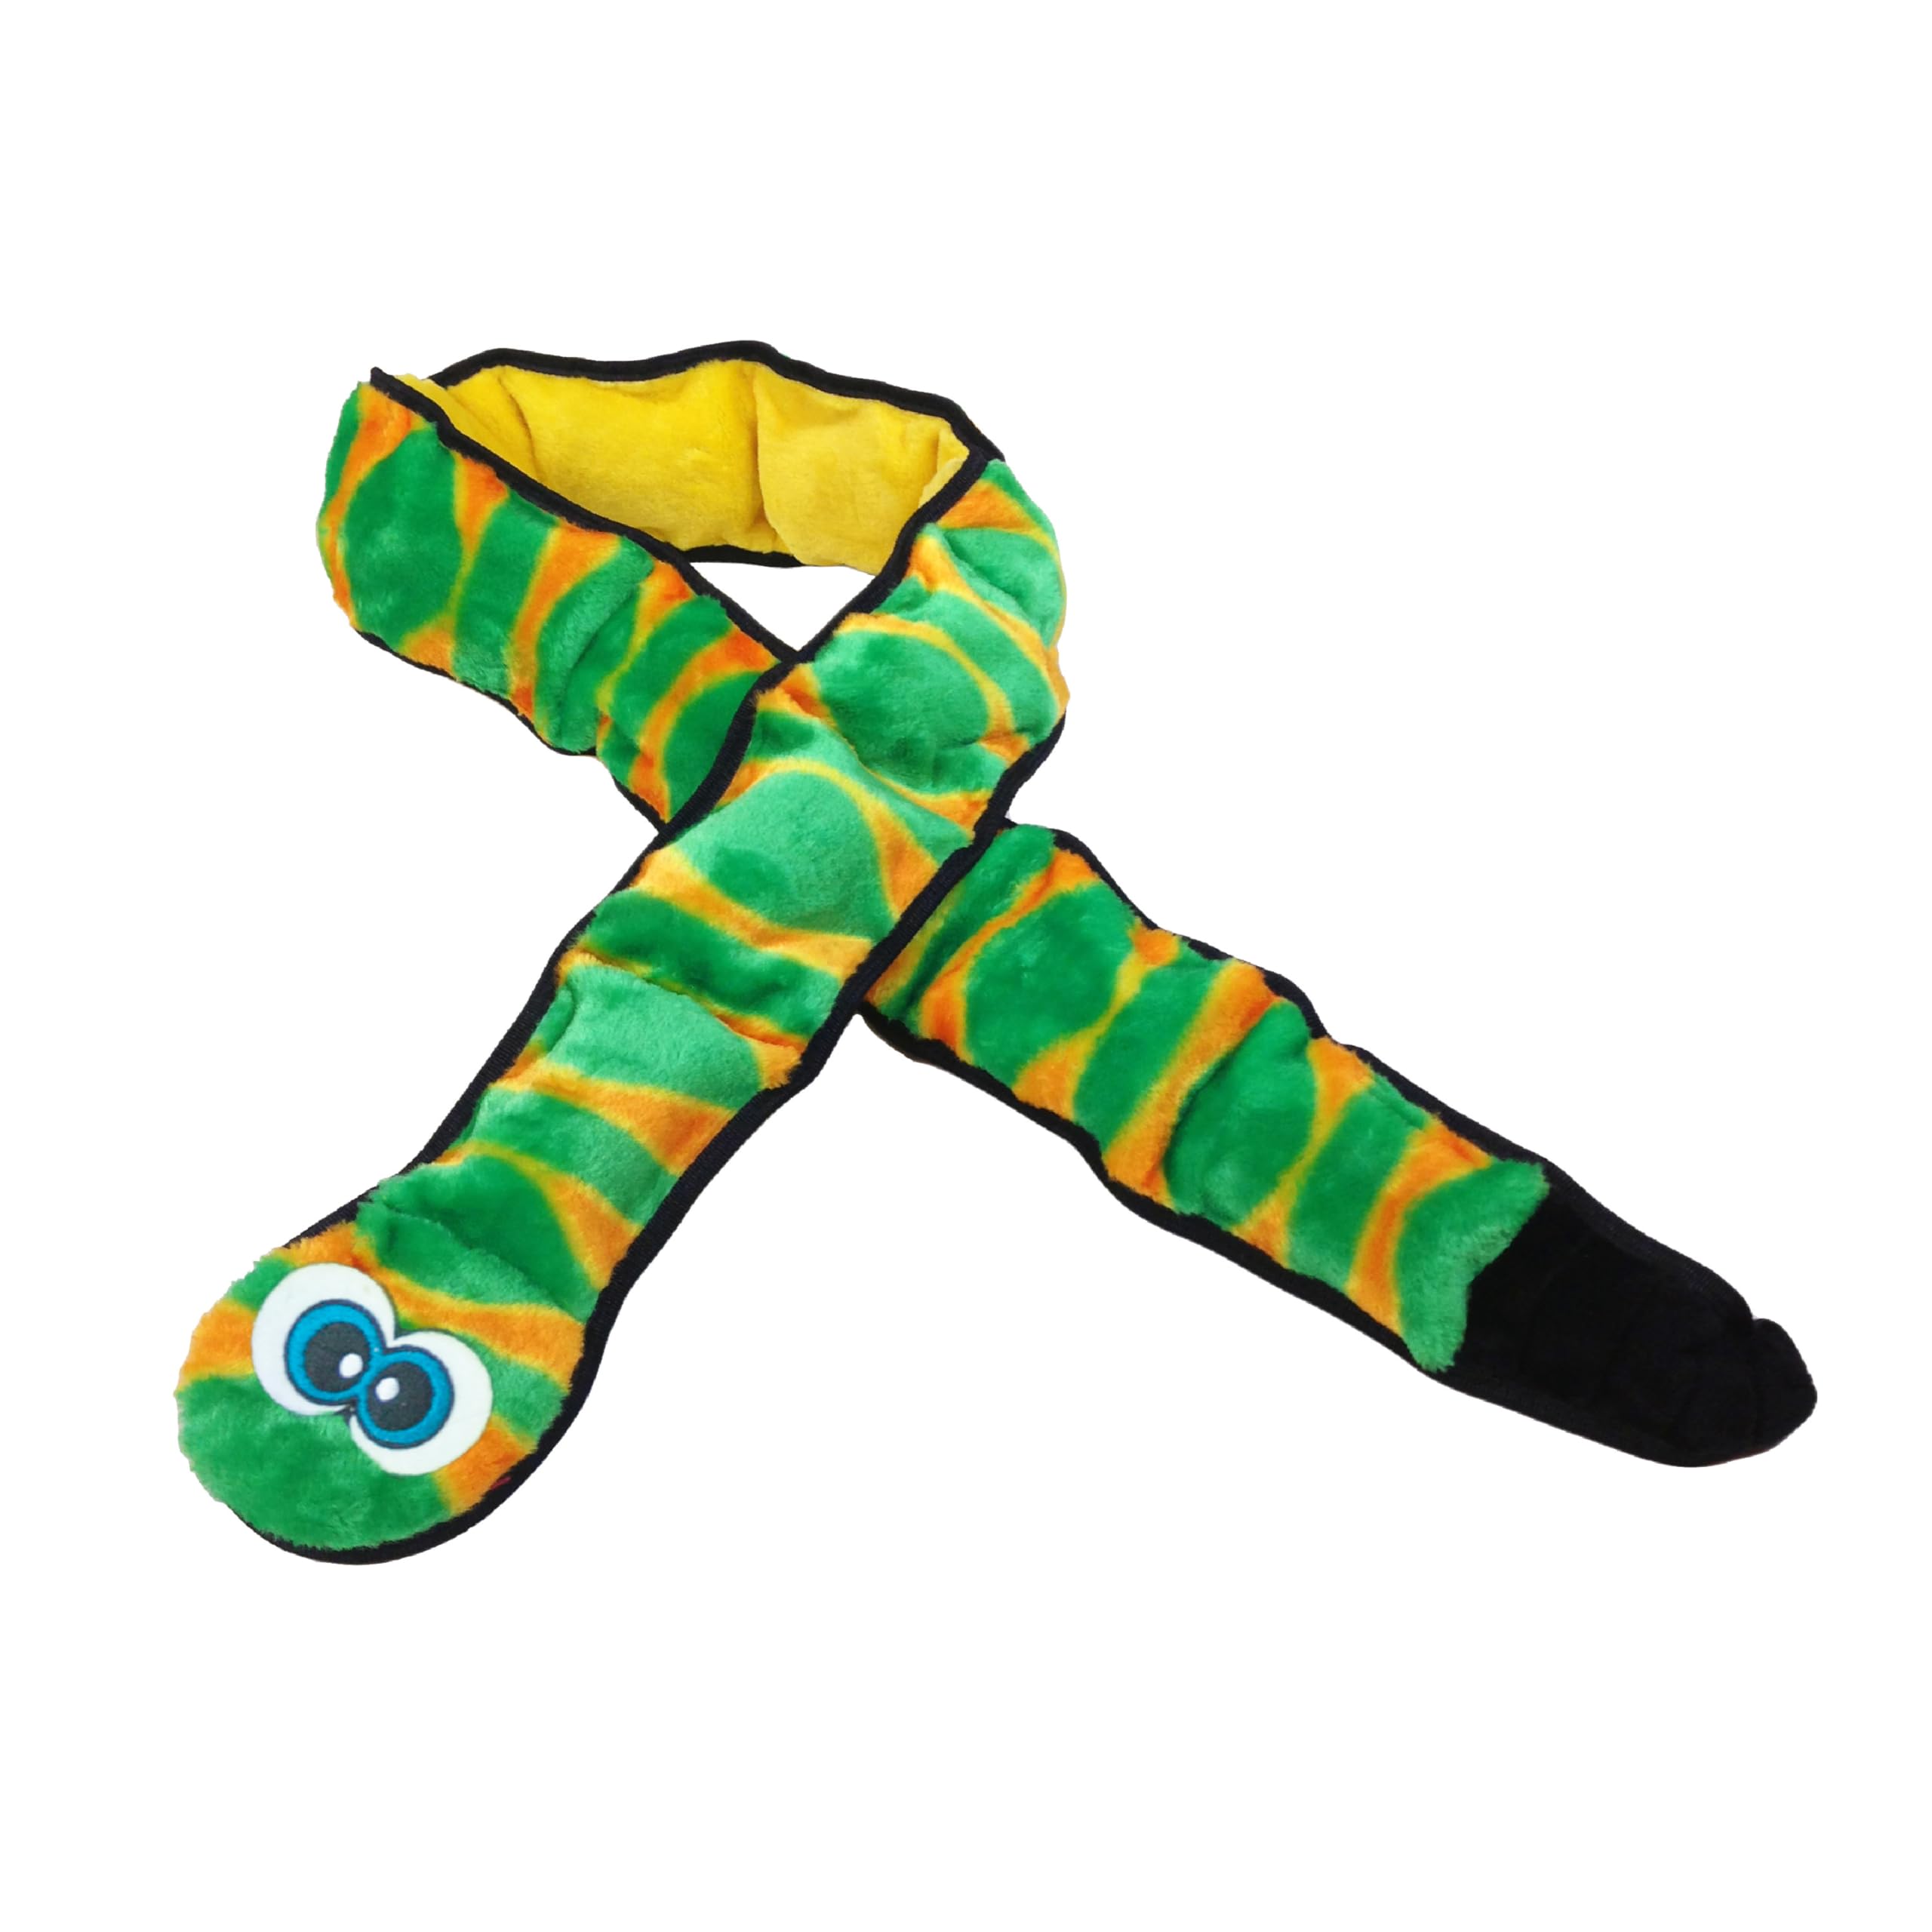
Step 5: Adding the Squeaker. Now for the pièce de résistance – the squeaker! I nestled it right into the head of the snake, surrounded by plenty of stuffing to keep it in place. This is crucial for maximum squeakiness.
Step 6: Closing the Gap. I carefully folded in the raw edges of the opening at the tail and pinned them in place. Then, I hand-stitched the opening closed using a hidden stitch. You want this to be as invisible and secure as possible.
Step 7: The Finishing Touches. To give the snake a bit more character, I used some embroidery floss to stitch on some simple eyes. You could also use buttons, but I wanted to avoid any potential choking hazards. A little forked tongue cut from felt and stitched on completed the look.
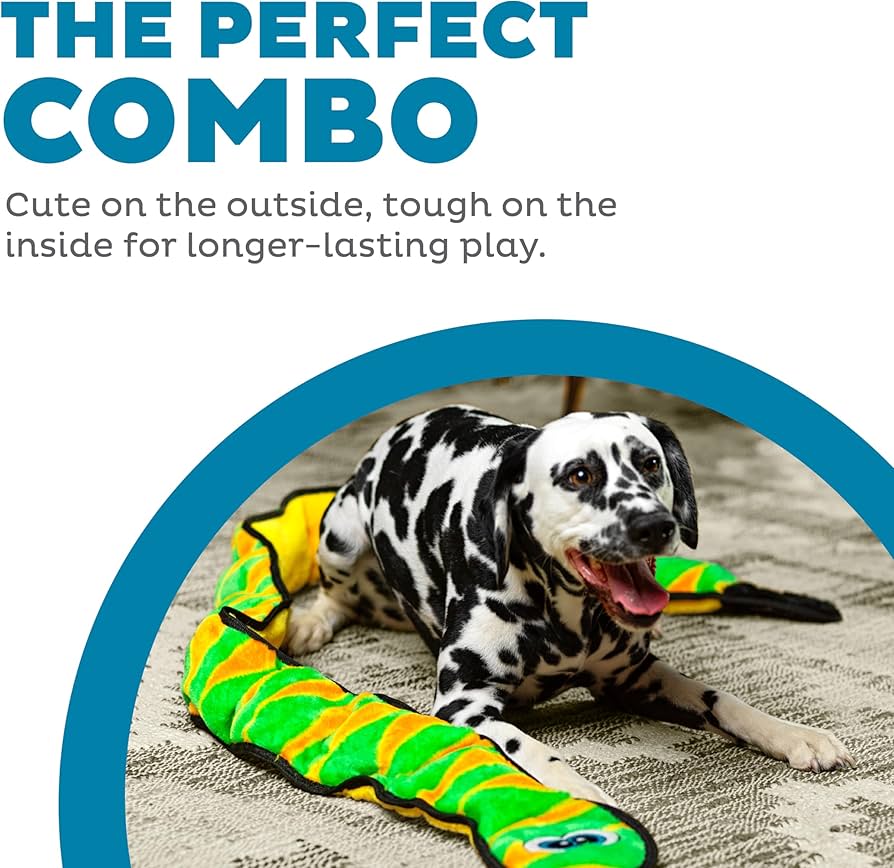
Step 8: The Moment of Truth. Time to unleash the snake on Max! He was immediately intrigued. The squeak sent him into a frenzy of shaking and thrashing. It was a success! He's been playing with it non-stop for the past few days, and it's still holding up surprisingly well.
The Verdict: This DIY snake squeaker dog toy was a fun and easy project, and Max absolutely loves it. It's a great way to use up fabric scraps and give your furry friend a new toy without breaking the bank. Just make sure to supervise your dog while they're playing with it, especially if they're a heavy chewer. Happy crafting!
- Pro Tip: Use durable fabrics like canvas or denim for extra longevity.
- Another Tip: Double-stitch all seams for added strength.
That’s all for today folks, until next time!