3 in 1 Dog Toy: Fun, Durable, and Perfect for Your Pup!
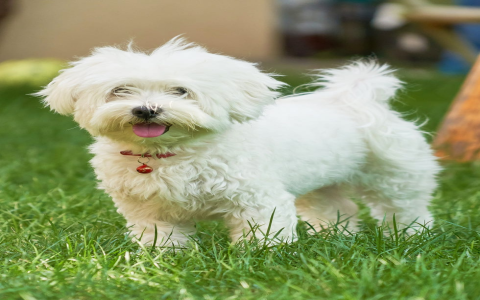
Alright guys, so today I wanna share a fun little project I tackled last weekend: a 3-in-1 dog toy! My pup, Max, gets bored real easy, so I figured I'd try to build something that would keep him entertained for more than, like, five minutes.
Brainstorming & Planning:
- First, I sat down and thought about what Max actually likes. He loves chewing, tug-of-war, and chasing after things.
- I started sketching some ideas on a napkin. Looked like a total mess, but hey, it got the gears turning.
- My idea was to combine a rope toy, a plushie, and a treat-dispensing element into one Frankenstein-esque creation. Ambitious, I know!
Gathering Supplies:
Headed to the local pet store and grabbed:
- Some heavy-duty rope (the kind meant for dog toys, not just any old rope).
- A cheap plush toy (figured I could cannibalize it for parts).
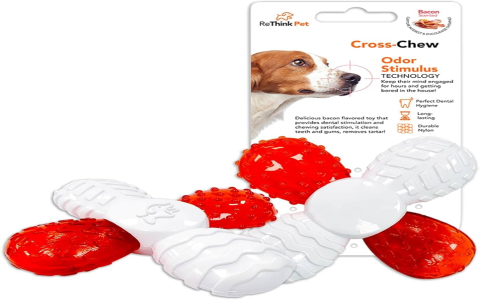
- A Kong-like rubber toy with a hole in it.
- Some tough fabric scraps (denim and canvas I had lying around).
- Dog-safe squeakers (because why not?).
Construction Time!
Okay, so this is where things got a little… chaotic.
- The Rope Core: I took the rope and tied a bunch of knots in the middle to create a good grip for Max to tug on. Then, I braided the ends to make them thicker and less likely to fray immediately.
- Plushie Integration: I cut open the plushie (RIP, little bear) and removed the stuffing. I then sewed the fabric scraps around the rope core, creating a sort of "sleeve" for the rope. Stuffed the squeakers inside before fully closing it up. Adds to the fun, you know?
- Treat Dispenser Attachment: This was the tricky part. I used some heavy-duty thread (and a lot of patience) to sew the Kong-like toy onto the middle of the fabric-covered rope. Made sure it was super secure, because Max is a puller.
- Reinforcements: Added extra stitching everywhere I thought might be a weak point. My sewing skills are… questionable, but I tried my best to make it durable.
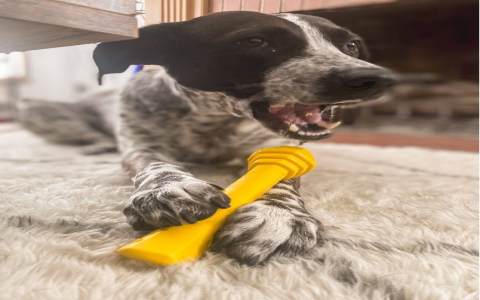
The Big Reveal (and the Initial Reaction):
I presented the finished monstrosity to Max. He was… confused at first. He sniffed it, nudged it with his nose, and then gave me a look like, "What IS this thing?"
Testing and Tweaking:
- I tossed it to him. He chased it! Success!
- He started chewing on the rope. Good!
- Then he discovered the treat dispenser. Jackpot! I stuffed some kibble in there, and he went to town trying to get it out.
- The plushie part? He mostly ignored it at first, but eventually, he started shaking it around like a maniac.
Durability Test (Ongoing):
Okay, so it's only been a few days, but so far, so good! A few stitches have come loose, but nothing major. I'm keeping an eye on it and will reinforce any areas that start to look weak.
Final Thoughts:
This 3-in-1 dog toy was definitely a labor of love (and a bit of a mess). But seeing Max actually enjoy playing with something I made myself? Totally worth it. Plus, it was a good way to use up some scrap fabric and give an old plushie a new life. If you're looking for a fun DIY project for your furry friend, I'd definitely recommend giving something like this a try!